


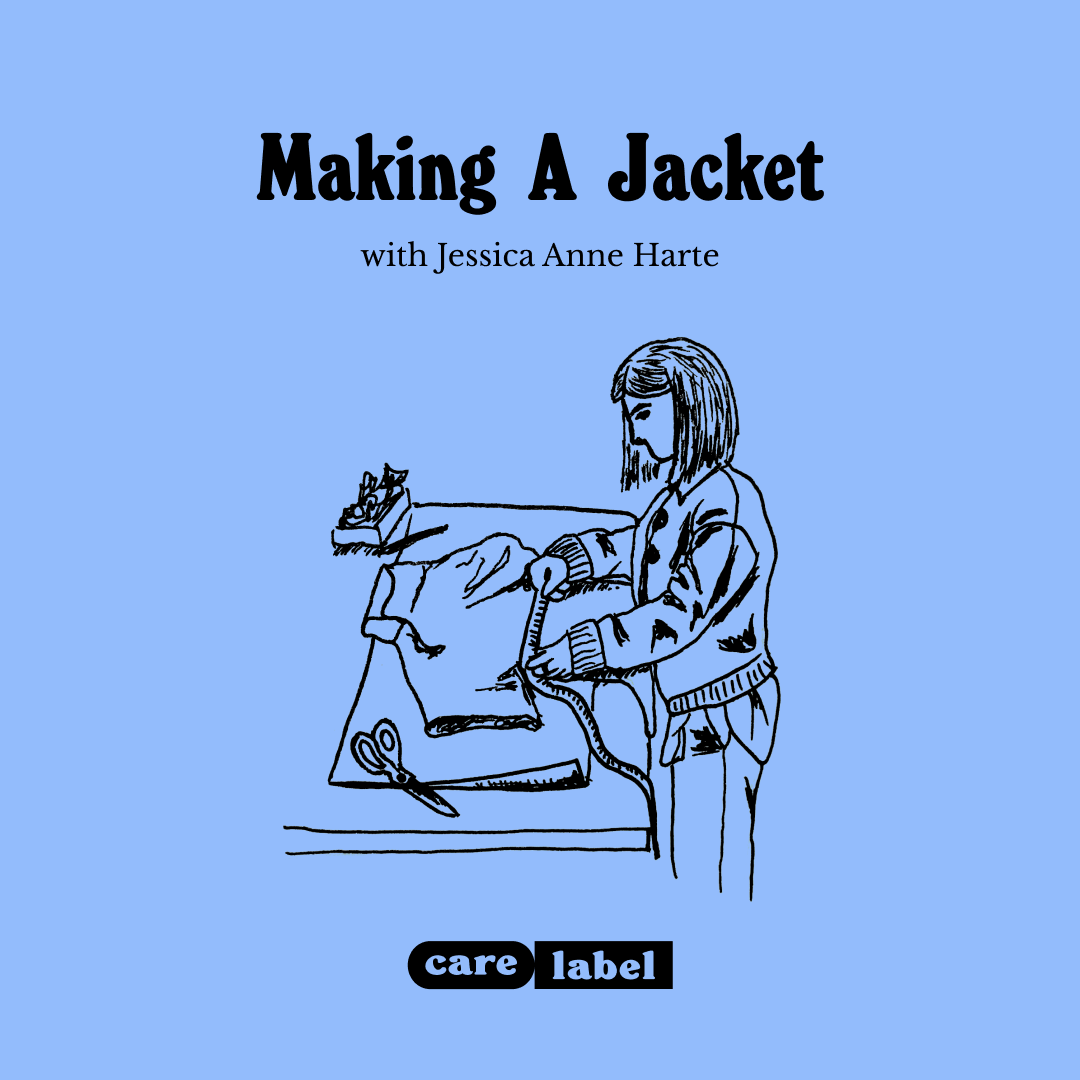
Making a Jacket with Jessica Anne Harte
From Fabric to Finish

In recent times, I’ve been lucky enough to support and buy from brands and stores run by friends of mine. To know you are actively contributing to their community makes for a fulfilling experience. It becomes a purchase with purpose, rather than the fleeting transactions we know too well.
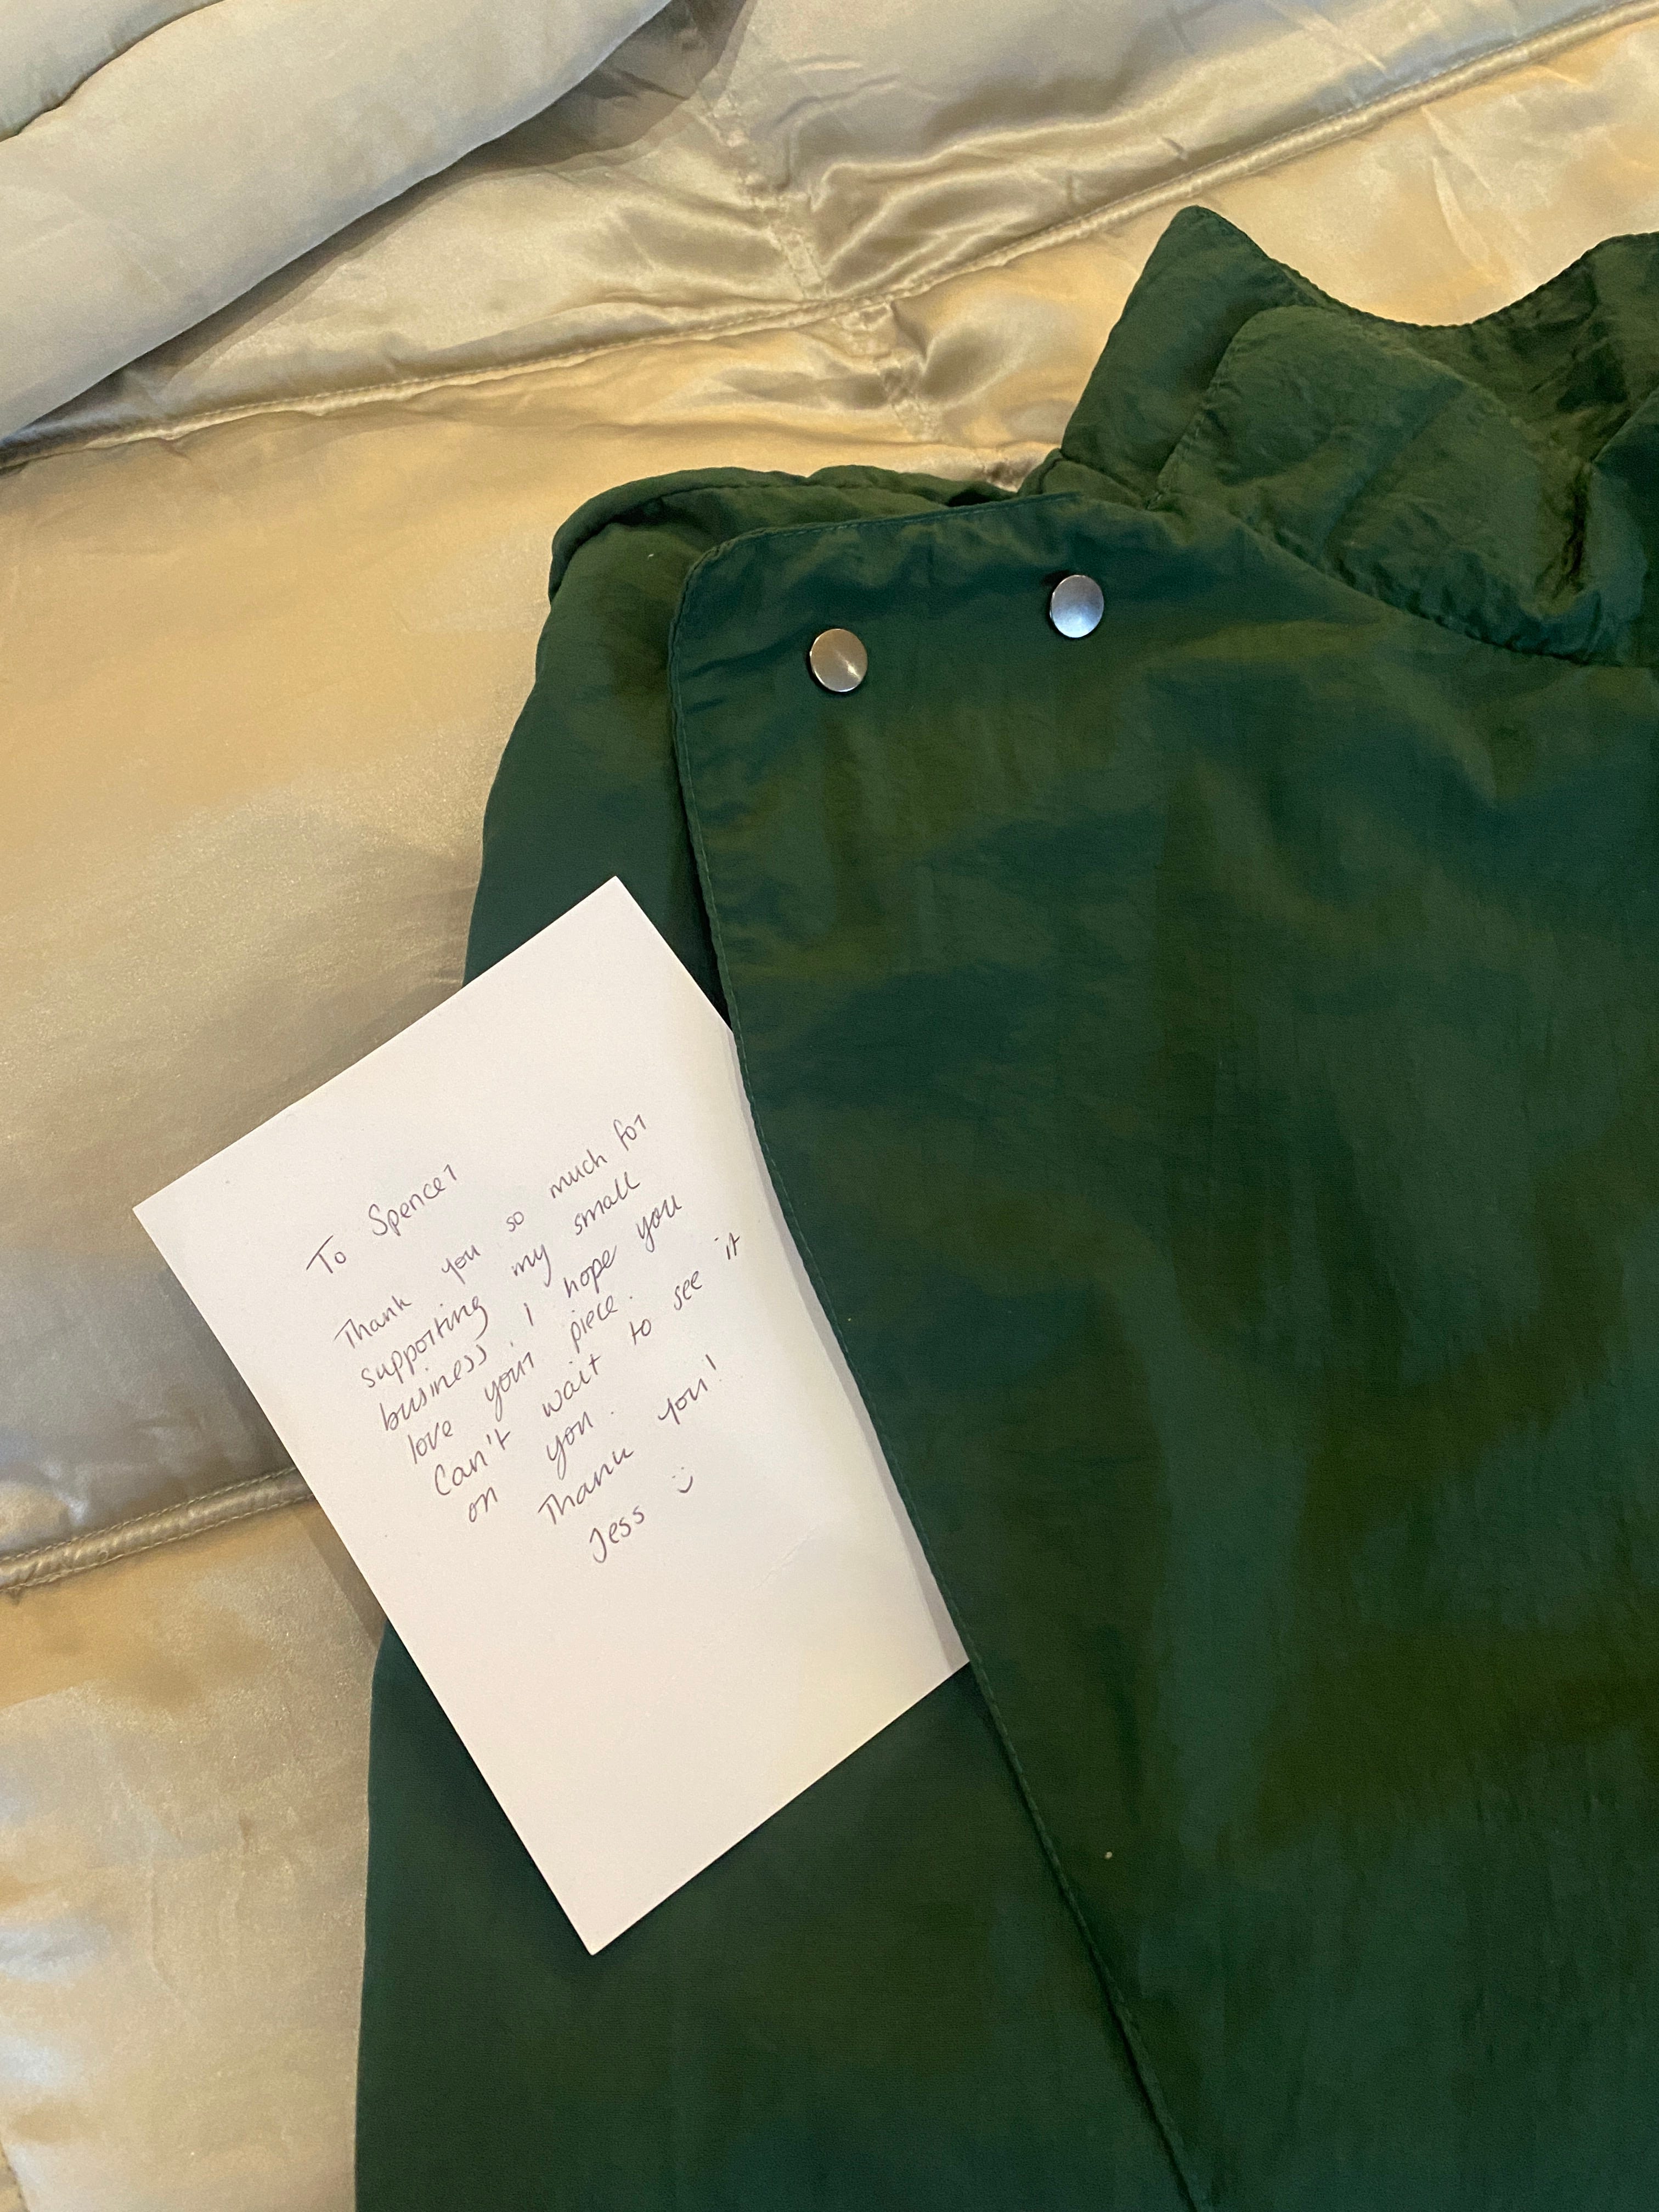
But something I haven’t done before is having something cut and sewn by a friend. Lucky for me, my friend and Irish Menswear designer, Jessica Anne Harte makes some stellar outerwear garments and accessories. A couple of months ago, Jess posted a picture of a Green Asymmetrical jacket, with 3 quarters sleeves, and snap buttons, made from a hard-wearing technical fabric. It looked like a serious piece of kit. It instantly caught my eye. I, of course, had to have one.
But instead of Jess just commissioning this jacket, I asked her to document each step of its creation. This is something I try to cover in all Care Label profiles, where I’m always eager to speak to brands and makers about process and craft.
Lifting the veil on process gives us an appreciation for the product, but also respect for the people behind the needle and thread. It helps you go inside the mind of the maker. What were they thinking while making it? What part of the process did they struggle with? What podcasts or songs accompanied them while making? These are the questions that you ask yourself when given the opportunity to be close to the making. Getting closer to the ‘how’ and ‘who’ makes us more connected to the food, drink and clothes we wear. In my opinion, this is something we should all seek in our everyday.
Read on to delve into the world of a maker. I hope you enjoy.
Step 1: Fabric
The initial step of making this jacket was to source the fabric itself. Jess went to one of Dublin’s most popular places to buy fabric, the TWI on Mountjoy Square:
For most of my garments, I usually order online from some of the suppliers I work with. But for this particular garment, I sourced the fabric from TWI in Mountjoy, an old Georgian building with thousands of deadstock fabrics.I originally got this fabric to sample some ideas with and when I made the asymmetrical jacket, I loved the fabric and the colour so much, especially the colour. When selecting materials, I tend to use deadstock, especially with technical fabric as the environmental impact is so high.
This fabric is Polycotton, which makes it breathable and water-resistant. I lined it with an eyelet mesh which I have used on some other garments too.


Step 2: Pattern Drafting
Drafting is the initial step of making the jacket. It is the garment template. This is the pattern-making process, using the measurements of different body parts to cut the ‘blocks’. Jess gives more context below;
Once I have the fabric in I can start grading the pattern to fit the client. For this Jacket, I drafted important measurements such as sleeve length, back width, chest width and shoulder length. Here I had some essential tools, a hard pencil, tape measure and some pattern paper. This allows me to draft the fabric to then begin the process of sewing all the individual parts together.


Step 3: Sewing
When I collected the jacket, Jess showed me her sewing machine. It is an old Singer which Jess sourced a few years back. This thing was loud and meant business. I asked her for some details on the machine;
It’s a Singer 366k205. I bought it 7 years ago from a lady in Raheny. It’s a heavy-duty machine which means I can sew heavy-weight fabrics. I have no information on how old the machine is, but I think you might find it in a museum soon. I love it and I have become very attached to it.
Jess outlines the process of sewing the fabric below;
Sewing the fabric to make the garment, entails back and forth from the sewing machine to the iron making sure each seam is crisp and clean. The fabric also easily frayed so I needed to overlock every seam.
For the collar, I used the technique of interfacing to give the fabric more structure. Then for the lining, I sew each piece together leaving a small opening on one of the arms, this allows you to sew the 2 pieces together. Once everything is sewn together you turn the garment inside out and it finally begins to take shape.


Step 4: Buttons
Most garments would have buttons installed via a button-hole machine. For anyone who isn’t aware, button-hole machines are extremely expensive. There are only a handful of places in Dublin that have these machines. Bigger operations making lots of garments can justify the price. But for independent makers, the cost of the machine doesn’t make any financial sense.
However, for this piece, Jess used snap buttons which she inserted by hand;
For this piece, I used snap buttons which I put in by hand using a small tool and a hammer.
There are 2 on the shoulder which are visible, then 2 more on the collar which are concealed. Lastly, there are 2 buttons on the body, which are also concealed leaving a cleaner finish and overall look.
Step 5: Finishing
Jess completed the jacket off with some final touches;
For the final step, I did some topstitching around the edges of the garment. This helps elevate the garment with cleaner and sharper seams. The final touches are a quality check, ensuring all threads are flush and then the label is sewn on.

Process?
Lastly, I asked Jess about her process and how she works as a designer;
My process as a maker is not linear, I am always back and forth between research and garment references. I have always looked at archive garments to reference and use in my own pieces. My main focus is outerwear pieces so instead of creating collections I imagine my brand as an ever-growing wardrobe designing and introducing new pieces as I go.
My colour story of blue and green has always been a constant, influenced by Irish landscapes.Fabric is really important to me. As my pieces are quite simple, the fabric has to be high quality and I want my pieces to be forever pieces that are versatile and timeless.
My dream is to do this full-time. I want to continue making everything in-house having a working studio and a showroom, a place for people to come in and understand the whole process.
To Conclude
I hope you enjoyed this as much as I have. Having some insight into the process of making a garment from start to finish makes us more connected to what we wear. As I said at the beginning, the typical high-street or department-store purchases leave us wanting more. Of course, quick and affordable clothing serves an important purpose. However, being able to support a craft that you know requires thought, love and care makes for a memorable experience.
With Silly Season fast approaching, where trivial gift-giving is aplenty, I recommend shopping with someone or a business which is local. Chat with them. Ask them questions about where things come from, and how they are made. You won’t regret it.
Check out Jess’ website here. She offers a bespoke service for outerwear garments.
Thanks again to Amber Redmond for the wonderful illustration. IG ard.irl